2 月 . 12, 2025 03:19 Back to list
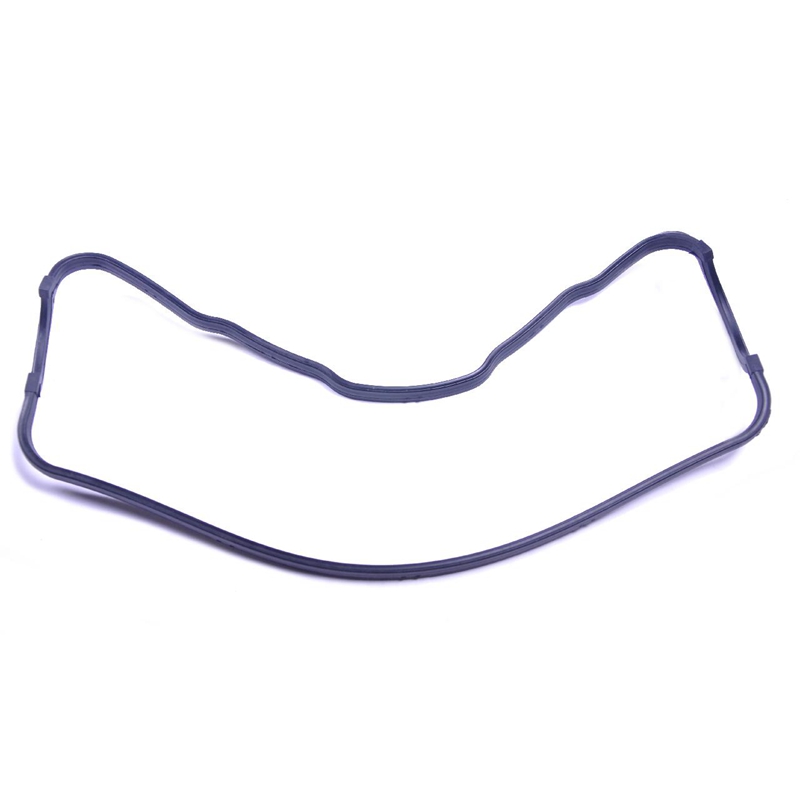
5.3 valve cover gasket replacement
Replacing a valve cover gasket on a 5.3-liter engine might seem intimidating for a novice, but it’s an essential maintenance task that can save you from costly repairs down the road. This article provides an expert-level insight into the process, emphasizing expert techniques, reliable methods, and trustworthy advice based on years of experience in auto mechanics.
Thoroughly clean the mating surfaces using an appropriate solvent to remove any old gasket material and oil residue. A clean surface is key to ensuring the new gasket seals properly—a mix of expertise and meticulousness that defines professional-grade work. Install the new gasket by aligning it with the valve cover and making sure it's seated evenly. Some recommend applying a small amount of gasket sealer in corners or critical junctures, though opinions vary; a consultation of your vehicle’s service manual will provide authoritative guidance. Reattach the valve cover, carefully threading each bolt by hand before a final torque. The correct torque specifications are crucial—over-tightening can damage the gasket or the cover, while under-tightening may result in a poor seal. Such precision reflects the depth of mechanical expertise involved in this process. Reconnect all labels and previously detached components, ensuring all connections are secure. Finally, reconnect the battery. Perform a test run, observing for any signs of leaks while the engine idles. This real-world testing is the culmination of trust you’ve built into your repair; verification that your hands-on experience and expert methods have achieved the desired outcome. In conclusion, replacing the valve cover gasket on a 5.3 engine is more than a routine task—it's an exercise in mechanical diligence and expertise. Ensuring each step is performed with care and accuracy helps maintain your vehicle's performance and reliability, showing respect for both the machine and the journey it enables.
Thoroughly clean the mating surfaces using an appropriate solvent to remove any old gasket material and oil residue. A clean surface is key to ensuring the new gasket seals properly—a mix of expertise and meticulousness that defines professional-grade work. Install the new gasket by aligning it with the valve cover and making sure it's seated evenly. Some recommend applying a small amount of gasket sealer in corners or critical junctures, though opinions vary; a consultation of your vehicle’s service manual will provide authoritative guidance. Reattach the valve cover, carefully threading each bolt by hand before a final torque. The correct torque specifications are crucial—over-tightening can damage the gasket or the cover, while under-tightening may result in a poor seal. Such precision reflects the depth of mechanical expertise involved in this process. Reconnect all labels and previously detached components, ensuring all connections are secure. Finally, reconnect the battery. Perform a test run, observing for any signs of leaks while the engine idles. This real-world testing is the culmination of trust you’ve built into your repair; verification that your hands-on experience and expert methods have achieved the desired outcome. In conclusion, replacing the valve cover gasket on a 5.3 engine is more than a routine task—it's an exercise in mechanical diligence and expertise. Ensuring each step is performed with care and accuracy helps maintain your vehicle's performance and reliability, showing respect for both the machine and the journey it enables.