11 月 . 04, 2024 18:48 Back to list
Tips for Replacing a Valve Cover Gasket Effectively and Easily
Changing a Valve Cover Gasket A Step-by-Step Guide
Replacing a valve cover gasket is a common maintenance task for vehicle owners, especially those with older cars or certain models that are prone to leaks. The valve cover gasket serves as a seal between the valve cover and the engine itself, preventing oil from leaking out and contaminating other engine components. If you've noticed oil stains on your driveway or an oily residue around the valve cover, it's likely time for a gasket replacement. Here, we provide a step-by-step guide to help you through the process.
Tools and Materials Needed
Before you start, gather the necessary tools and materials. You will need - A new valve cover gasket - Socket set - Torque wrench - Screwdrivers (flat head and Phillips) - Scraper or gasket removal tool - Clean rags - Engine degreaser - You may also want gloves and safety glasses for protection.
Step 1 Preparation
Begin by preparing your workspace. Ensure the engine is cold to avoid burns. Park your vehicle on a level surface and engage the parking brake. If necessary, disconnect the battery to prevent any electrical accidents.
Step 2 Remove Components
Depending on your vehicle’s make and model, you may need to remove other components to access the valve cover. This could include the air intake hose, ignition coils, or other obstructive parts. Keep track of which parts you remove and their corresponding fasteners to simplify reassembly.
Step 3 Remove the Valve Cover
Using the appropriate socket, loosen and remove the bolts securing the valve cover. Be mindful of the sequence; loosening from the center outward helps avoid warping the cover. Once the bolts are removed, carefully lift the valve cover off. If it's stuck, gently tap around the edges with a rubber mallet.
Step 4 Clean the Surfaces
With the valve cover removed, thoroughly clean the mating surfaces on both the engine and the valve cover. Use a scraper to remove any old gasket material. It's crucial to have a clean surface to ensure a proper seal with the new gasket. After scraping, use an engine degreaser and a clean rag to wipe the surfaces free of oil and debris.
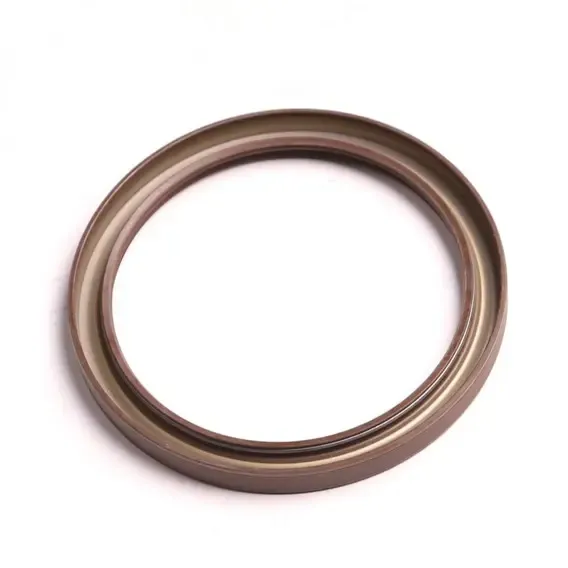
changing a valve cover gasket

Step 5 Install the New Gasket
Take your new valve cover gasket and carefully place it into the groove of the valve cover. Make sure it sits evenly and doesn’t twist. If your engine uses silicone sealant in addition to a gasket, apply it according to the manufacturer’s specifications.
Step 6 Reattach the Valve Cover
Position the valve cover back onto the engine. Ensure that the gasket remains aligned and in place. Replace and finger-tighten the bolts. Once all bolts are in place, use a torque wrench to tighten them to the manufacturer’s specifications. Again, follow a crisscross pattern to avoid warping.
Step 7 Reassemble Components
After securing the valve cover, reattach any components that were removed earlier, such as the air intake hose. Ensure all connections are tight and properly seated.
Step 8 Double-check Everything
Before reconnecting the battery, double-check all bolts and connections. Look for any tools or debris that may have been left behind in the engine bay.
Step 9 Start the Engine
Reconnect the battery and start your engine. Allow it to run for a few minutes while checking for leaks around the newly installed gasket. If you notice any leaks, it could indicate that the gasket isn’t seated correctly or that the bolts need further tightening.
Conclusion
Changing a valve cover gasket can be a rewarding DIY project, saving you time and money while enhancing your vehicle's performance. With patience and attention to detail, you can complete this task efficiently. Regular maintenance will ensure your engine remains in top shape, prolonging its life and efficiency.