9 月 . 09, 2024 12:34 Back to list
installing valve cover gasket
Installing a Valve Cover Gasket A Step-by-Step Guide
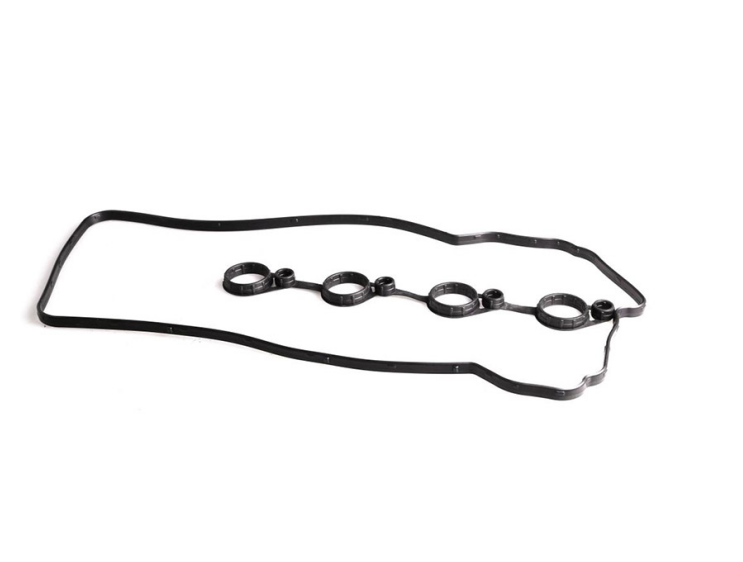
Installing a valve cover gasket is a crucial maintenance task that ensures the proper functioning of your engine. The valve cover gasket seals the area between the engine block and the valve cover, preventing oil leaks and maintaining optimal oil pressure. Over time, gaskets can wear out due to heat exposure, engine vibrations, and oil exposure. This guide will walk you through the steps to install a valve cover gasket effectively.
Tools and Materials Needed
Before you begin, gather the necessary tools and materials 1. New valve cover gasket 2. Socket set and ratchet 3. Torque wrench 4. Gasket scraper or razor blade 5. Clean cloths 6. Engine oil or gasket sealer (if required) 7. Safety goggles and gloves
Step 1 Preparation
Begin with safety. Wear gloves and safety goggles to protect your hands and eyes. Next, ensure your engine is cool to avoid burns. Disconnect the negative battery cable to safeguard your electrical system. Once the engine is cool, you’re ready to start the process.
Step 2 Remove the Valve Cover
Locate the valve cover on your engine. Depending on your vehicle's make and model, you may need to remove other components, such as air intake hoses or electrical connectors, to access the valve cover. Use a socket set to remove the bolts securing the valve cover, starting from the center and working your way outward to prevent warping. Once all the bolts are removed, gently lift the valve cover off. If it is stuck, tap it lightly with a rubber mallet.
Step 3 Clean the Surface
installing valve cover gasket

After removing the valve cover, clean the mating surfaces thoroughly using a gasket scraper or razor blade. Ensure there are no remnants of the old gasket, dirt, or oil, as this could compromise the new gasket’s seal. Wipe the surfaces with a clean cloth to remove debris.
Step 4 Install the New Gasket
Take your new valve cover gasket and place it on the valve cover, ensuring it fits snugly into the grooves. If your gasket requires any adhesive or sealer, apply it according to the manufacturer's instructions. Carefully position the valve cover back onto the engine, aligning it with the bolt holes.
Step 5 Torque the Bolts
With the valve cover in place, it’s time to secure it. Insert the bolts by hand to avoid cross-threading. Once all bolts are hand-tight, use a torque wrench to tighten them to the manufacturer's specifications, starting from the center and working outward. This ensures an even distribution of pressure and prevents leaks.
Step 6 Reassemble and Test
After the valve cover is securely in place, reattach any components you had to remove earlier. Reconnect the negative battery cable and start the engine. Allow it to run for a few minutes while you inspect for any signs of oil leaks around the valve cover.
Conclusion
Installing a valve cover gasket is a manageable task that can save you from costly repairs down the line. Regular maintenance of your vehicle ensures its longevity and performance. By following these steps, you can successfully install a new valve cover gasket and enjoy a well-functioning engine. Always consult your vehicle's service manual for specific instructions tailored to your model.